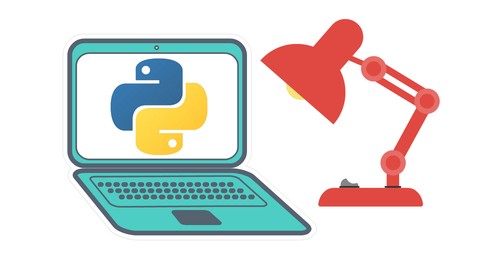
Build a Microservices app with .Net and NextJS from scratch
Loại khoá học: Web Development
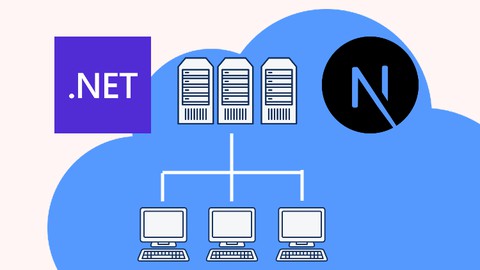
How to build a microservices based app using .Net, NextJS, IdentityServer, RabbitMQ running on Docker and Kubernetes
Mô tả
Microservices is the latest 'buzzword' and hot topic in the web development industry at the moment and nowadays having microservices as part of your skillset is becoming more and more essential. This course aims to teach you how to build a microservices based app using .Net for the backend services and Next.js for the client app. We start from nothing and build up the app until we have a completed app that we can publish to a Kubernetes cluster on the internet.
Here are some of the things that are covered in this course:
Creating several backend services using .Net that provide functionality for the app
Service to service communication using RabbitMQ and gRPC
Using IdentityServer as the identity provider.
Creating a gateway using Microsoft YARP
Building a client side app with Next.js using the new App Router functionality (since Next.js 13.4)
Using SignalR for push notifications to the client app
Dockerizing our different services
CI/CD workflows using GitHub actions
Adding ingress controllers
Publishing the app locally using docker compose
The goals of the main part of this course is to build this app and be able to run and publish everything locally without having to sign up or pay for any cloud services. Once you have completed the main part of the course there are 3 optional Appendixes that cover:
Unit and integration testing
Publishing locally to Kubernetes
Publishing the app to a Kubernetes cluster on the internet
Tools you need for this course
In this course all the lessons are demonstrated using Visual Studio Code, a free (and fantastic) cross platform code editor. You can of course use any code editor you like and any Operating system you like... as long as it's Windows, Linux or Mac. Please ensure that your computer can run Docker as this is a requirement for this course (please see the pre-requisite lesson available as a preview to confirm this).
Is this course for you?
This course is very practical, about 90%+ of the lessons will involve you coding along with me on this project. If you are the type of person who gets the most out of learning by doing, then this course is definitely for you.
On this course we will build an example Auction Application with several services that we will use to provide its functionality. For the client side of things we are using Next.js to take advantage of its client side and server side capabilities which is an excellent fit for what we are building. All you will need to get started is a computer with your favourite operating system that is capable of running Docker, and a passion for learning how to build a microservies based application using .Net and Next.js.
Bạn sẽ học được gì
To build an application with .Net using Microservices architecture
To build a client app for the application using NextJS
To use RabbitMQ for Service bus communications
To install and use IdentityServer in the Microservices app
To be able to test the projects using Unit and Integration testing with XUnit
To publish the Microservices app to Docker compose
To publish the Microservices app to Kubernetes cluster both locally and on the internet
Yêu cầu
- Some coding experience is required to participate in this course
- Windows, Mac or Linux computer that is capable of running Docker
Nội dung khoá học
Viết Bình Luận
Khoá học liên quan


![Flutter BLoC TDD & Clean Architecture | Project Based [2024]](/uploads/courses/udemy/5495156_a418.jpg)
Đăng ký get khoá học Udemy - Unica - Gitiho giá chỉ 50k!
Get khoá học giá rẻ ngay trước khi bị fix.
Đánh giá của học viên
Bình luận khách hàng